Install the App
Unzip the installer
Double click on the
Clarity Mac Installer.zip file that is downloaded to your system.This will result in a new file called Install ClaritySetup Audio Permissions
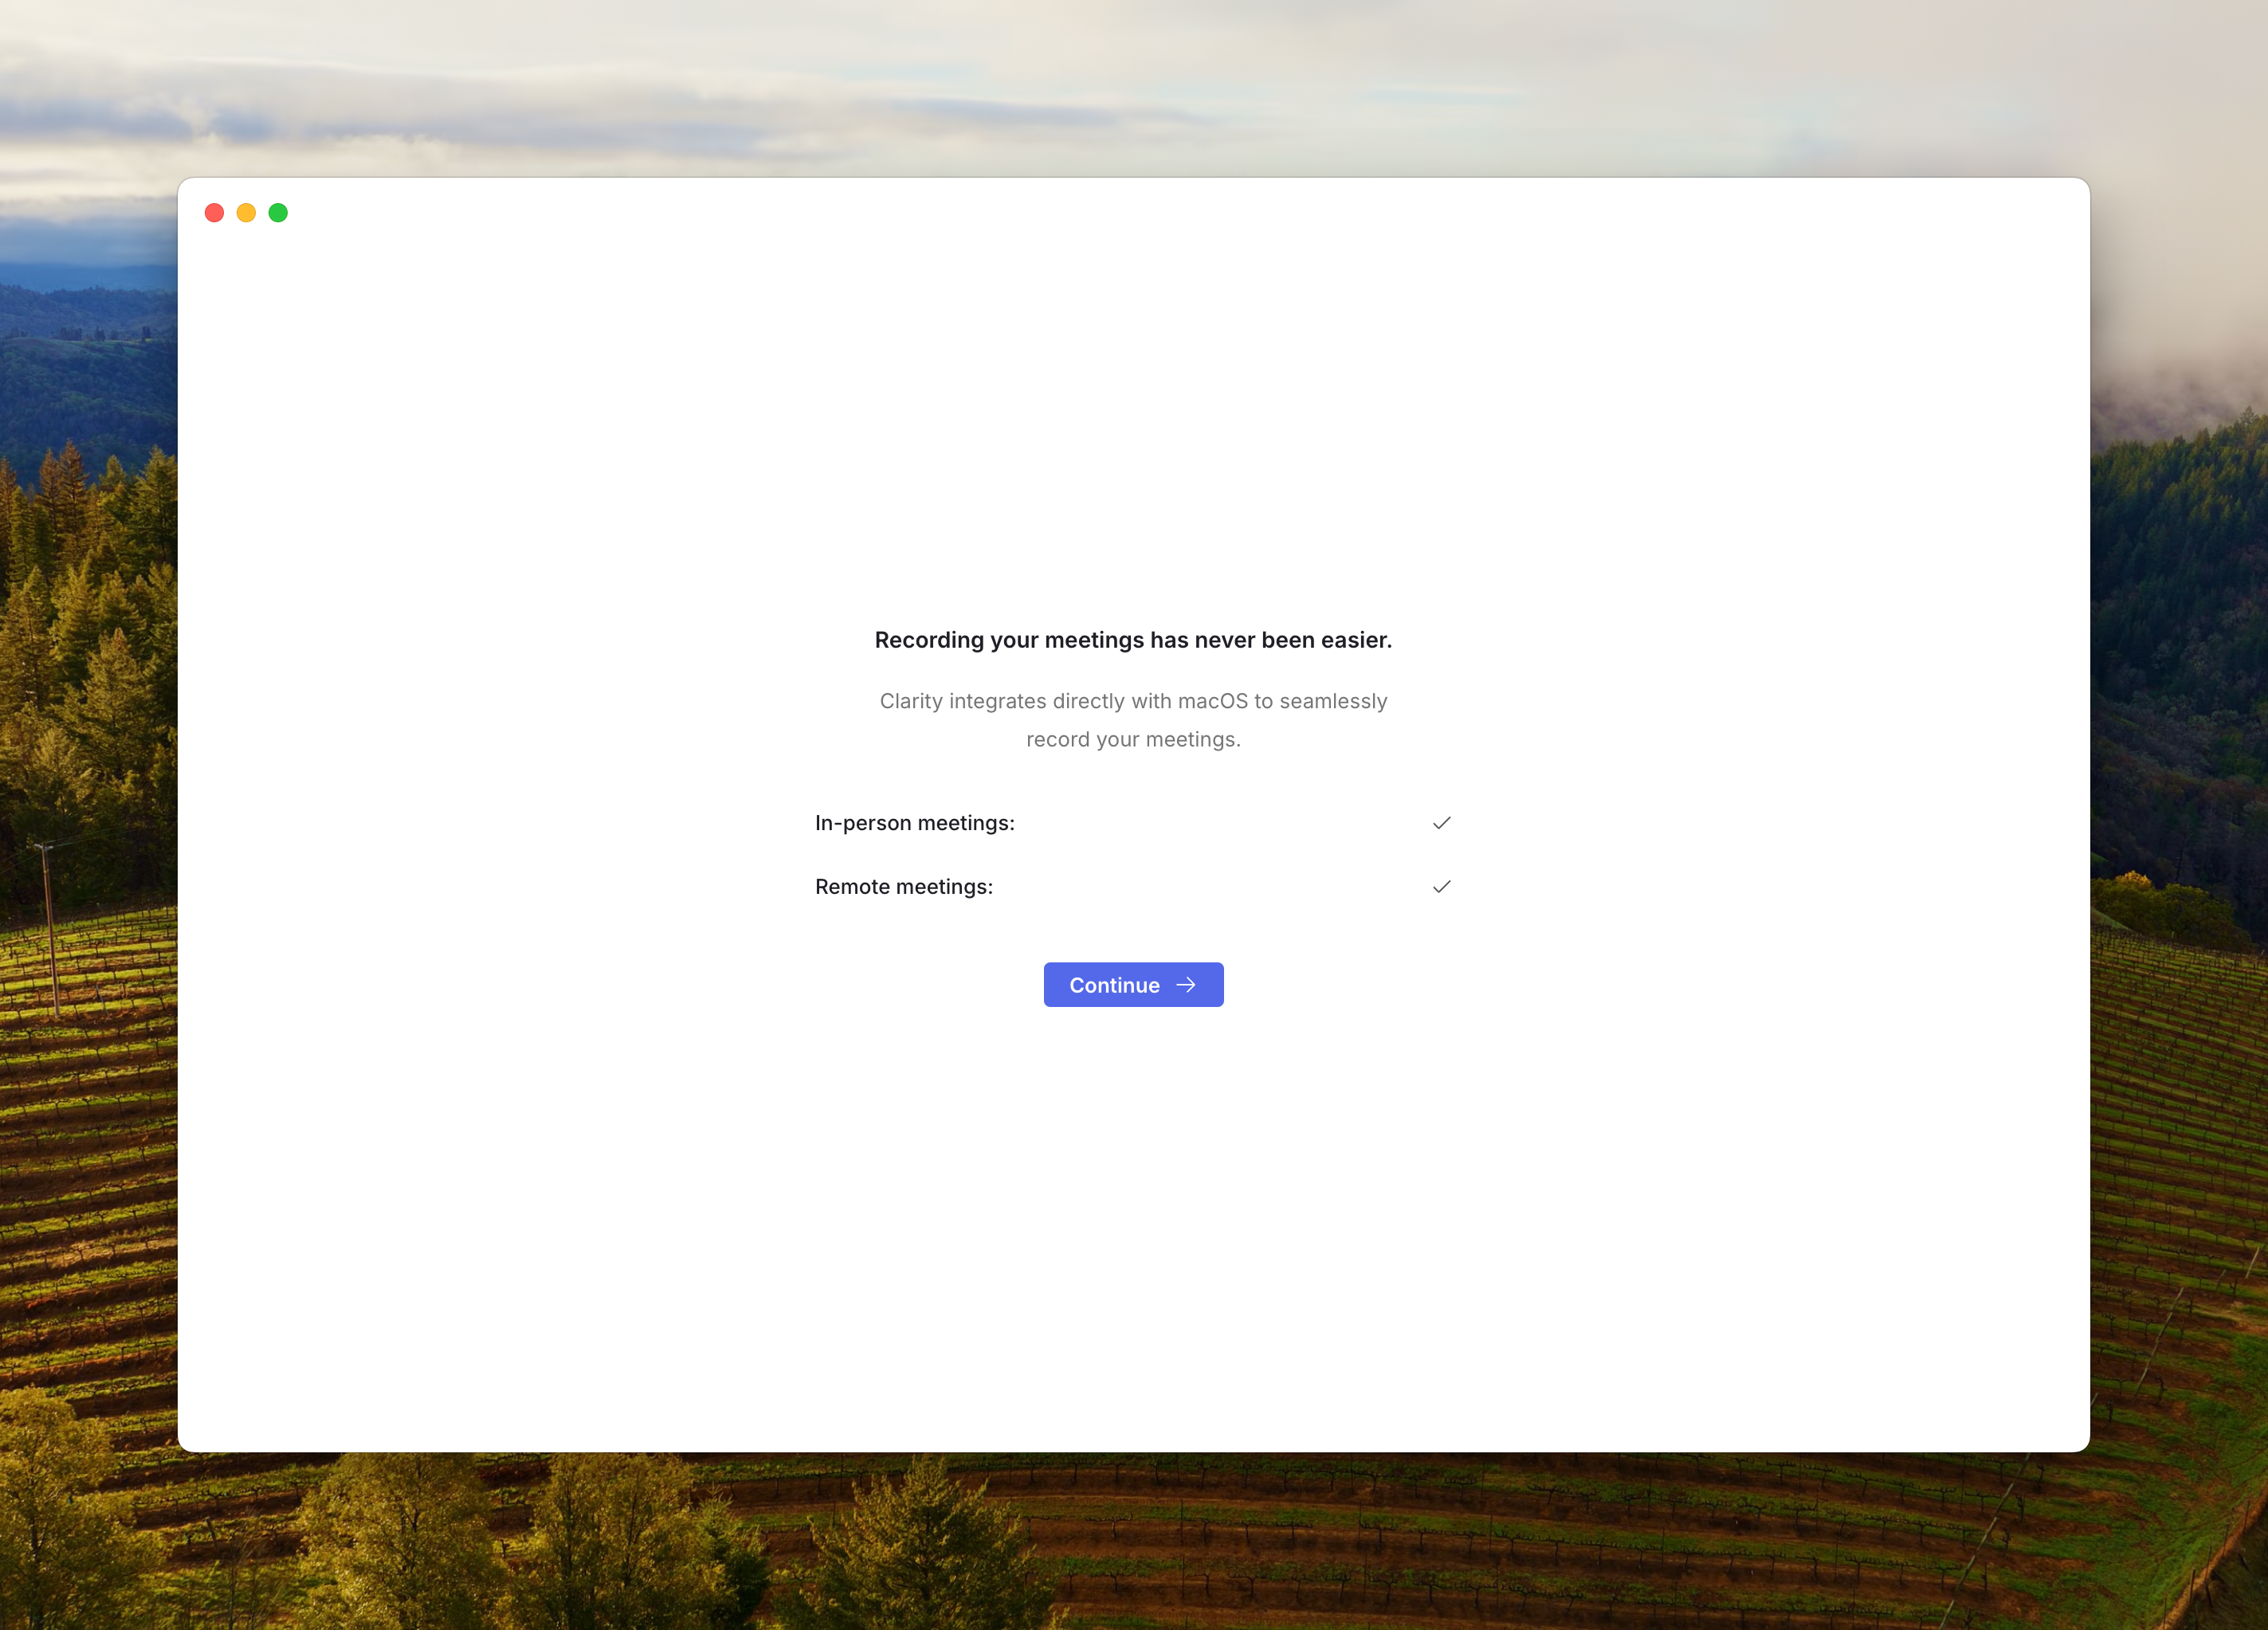
Clarity will request audio and screen recording permissions. This allows us to support desktop recording from the mic and system audio.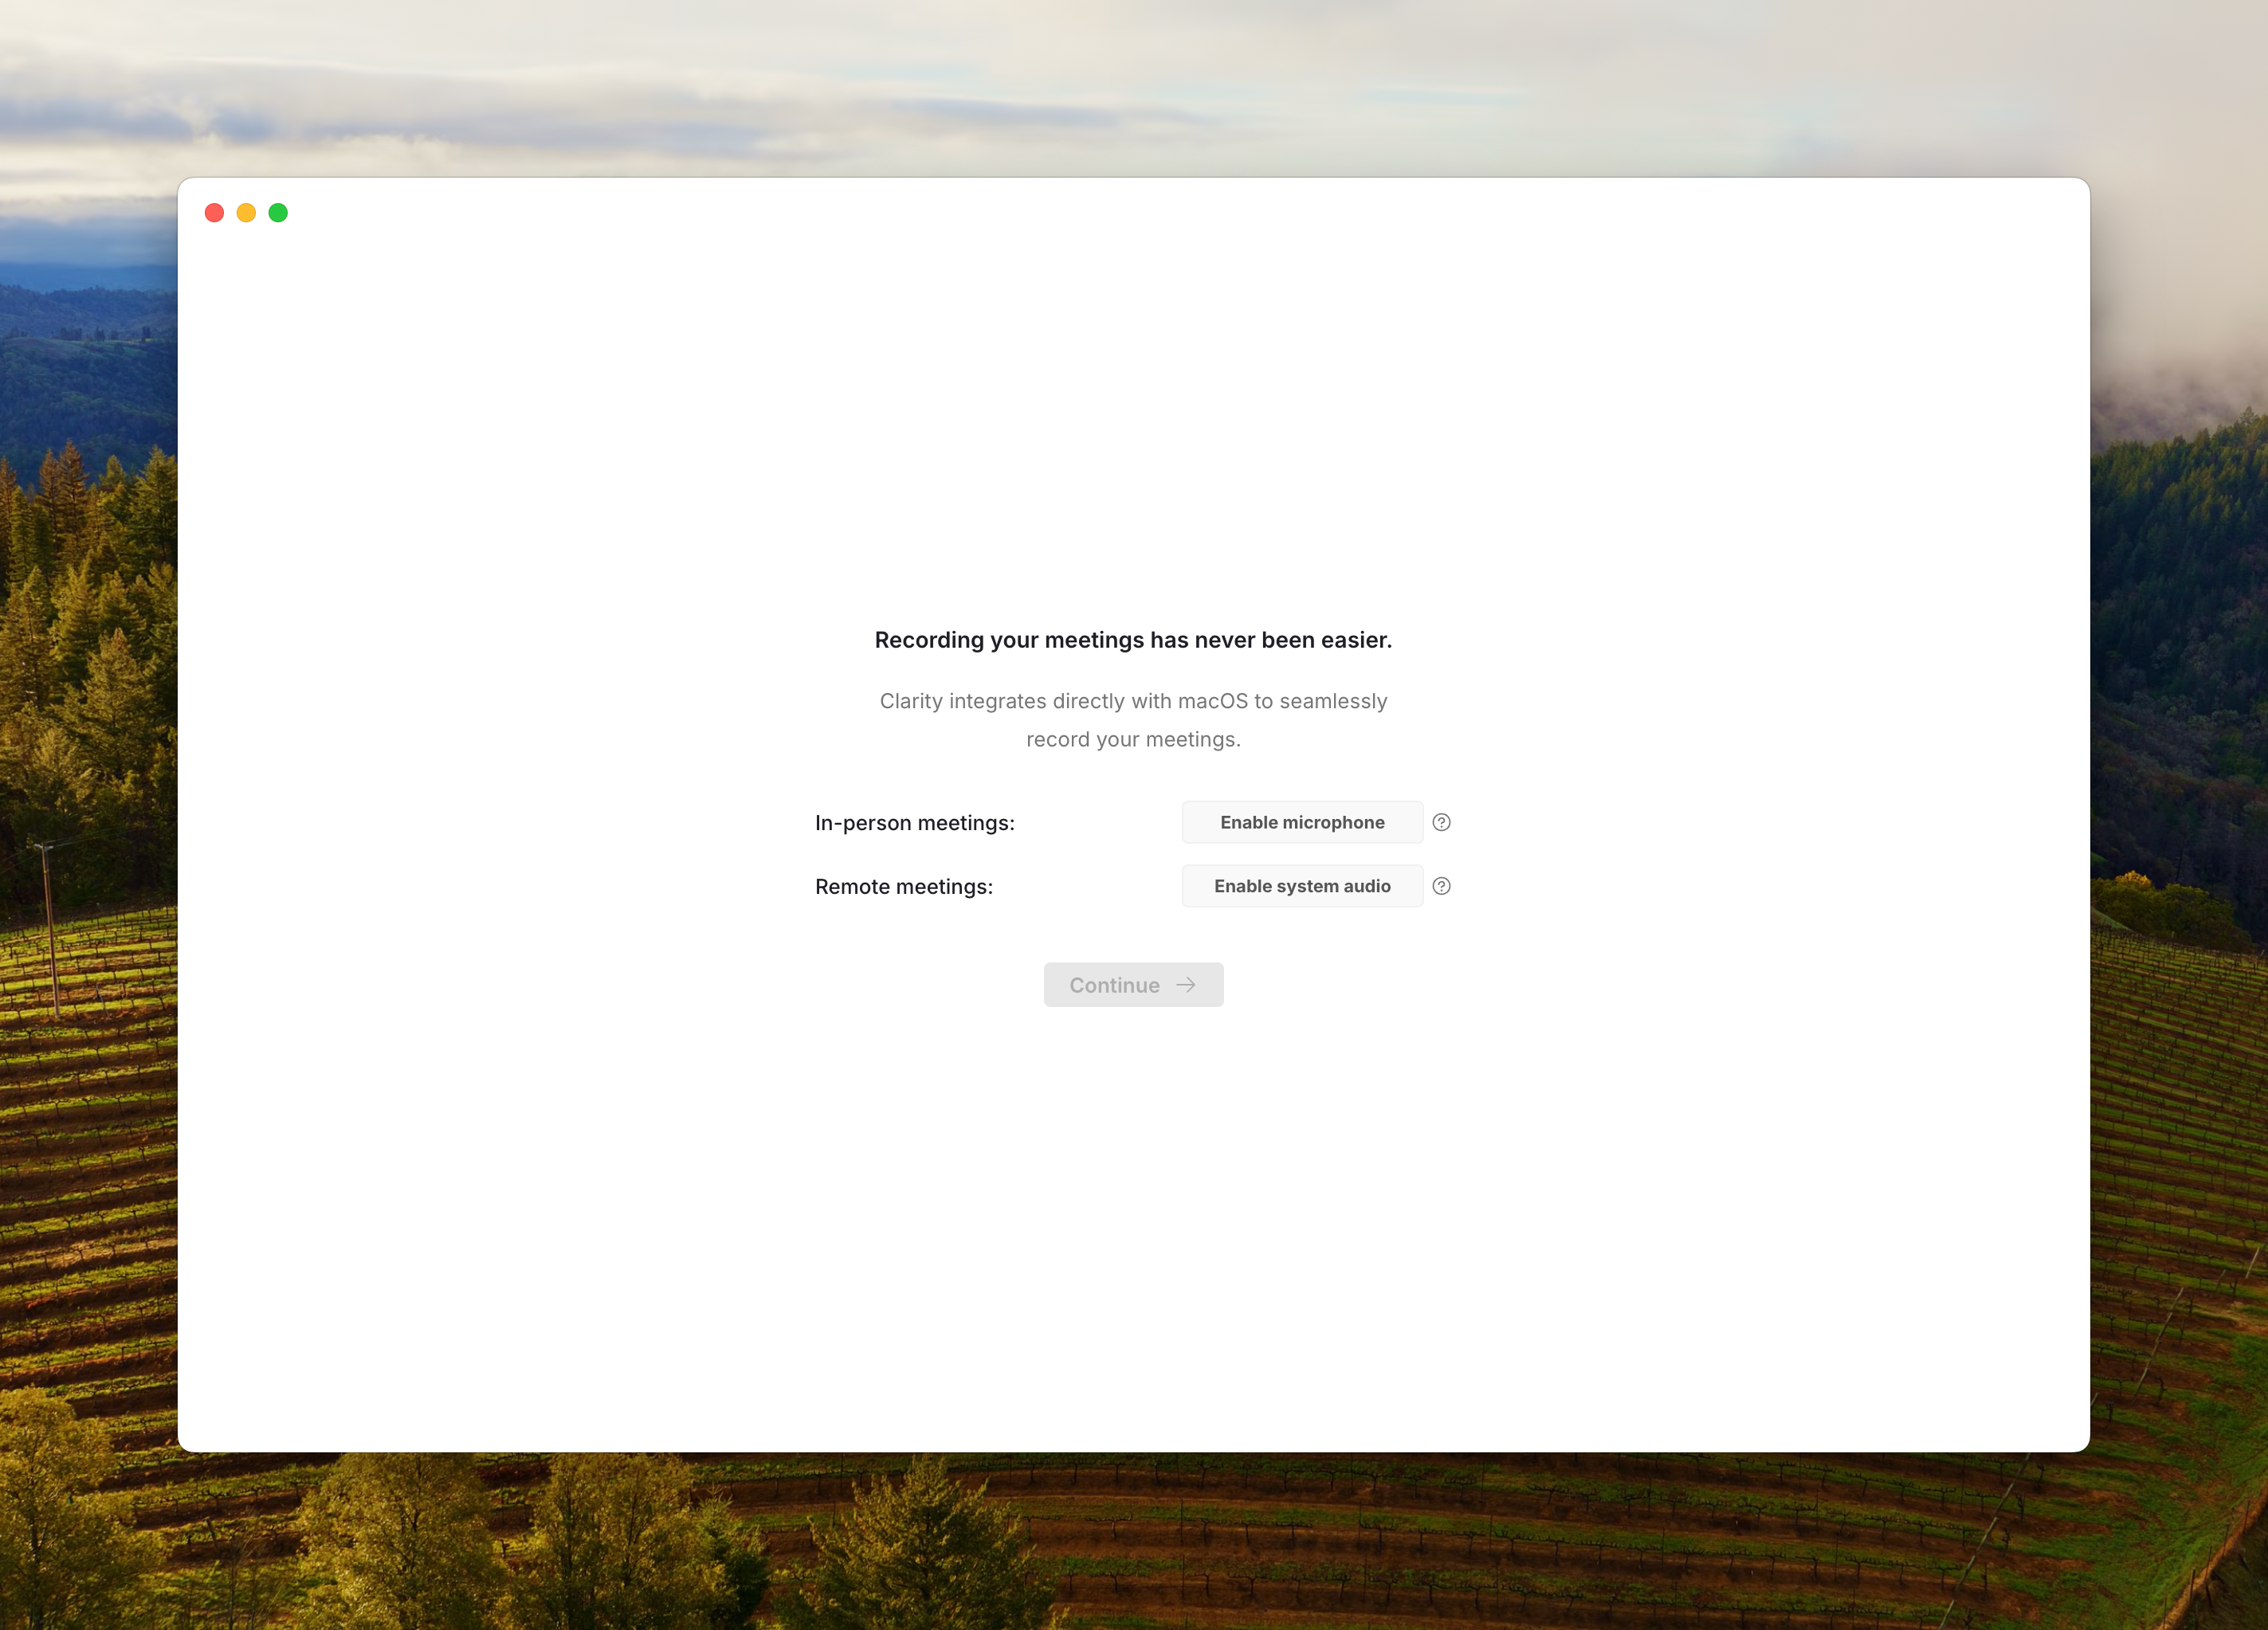
Allow microphone permissions
Click 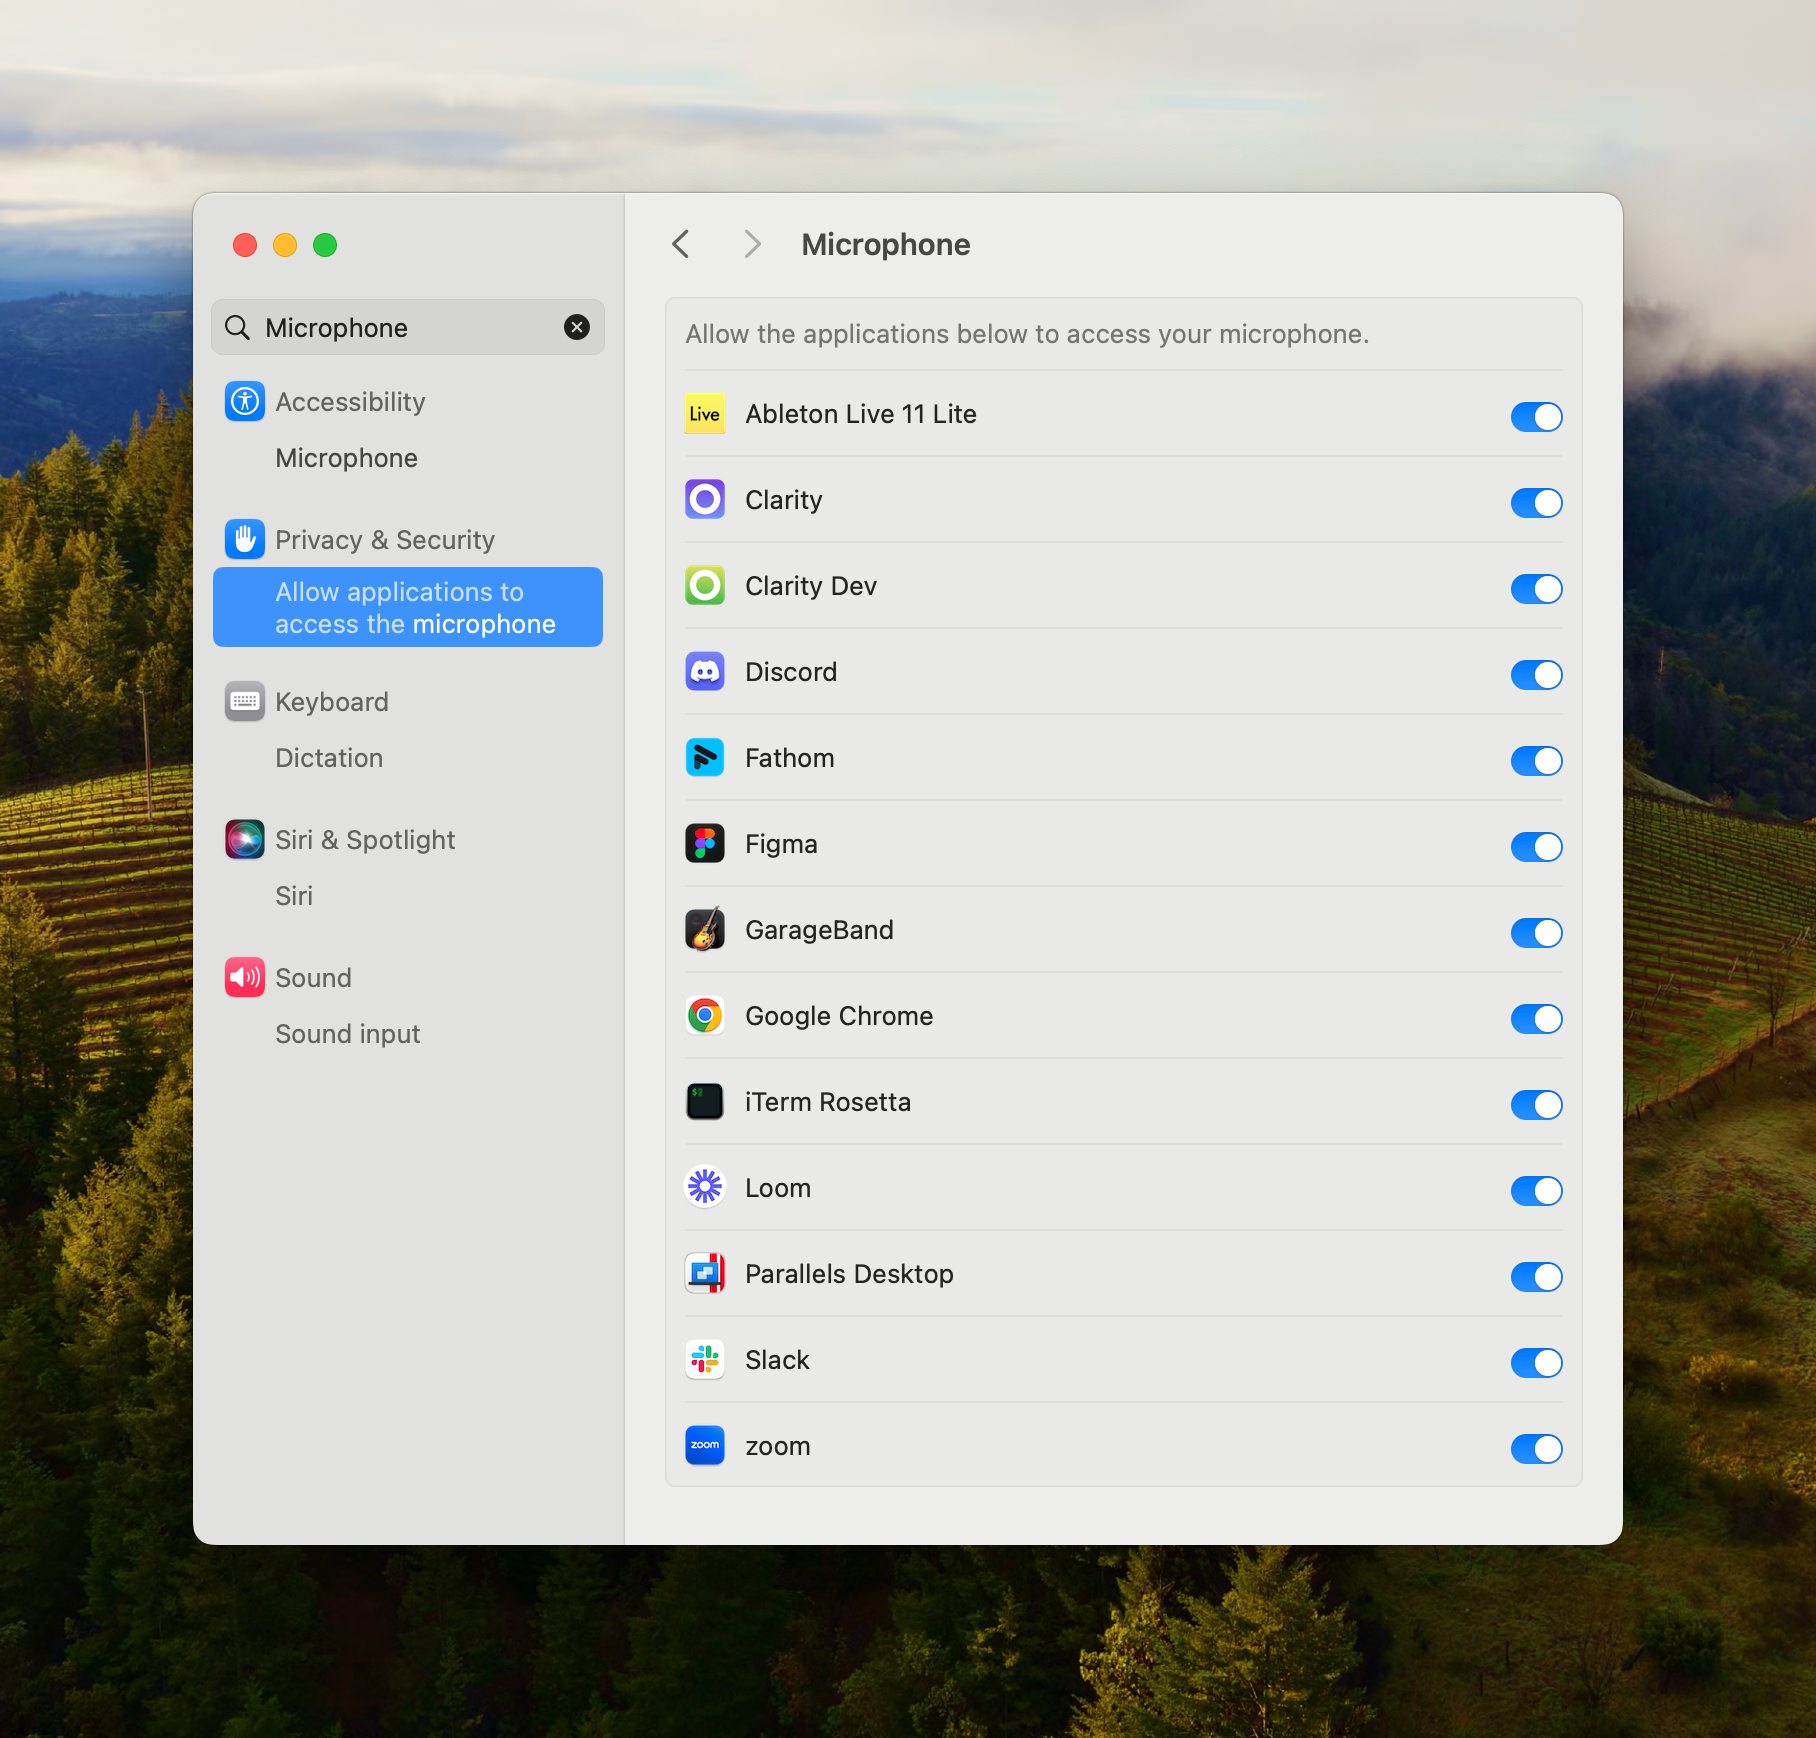
Enable Microphone. This should direct you to the Microphone settings in your Mac System Settings.You can navigate there directly by going to System Settings > Privacy & Security > Microphone or by searching “Microphone” in System Settings.This will allow Clarity to capture your mic audio for in-person and remote meetings.Allow screen recording permissions
Click 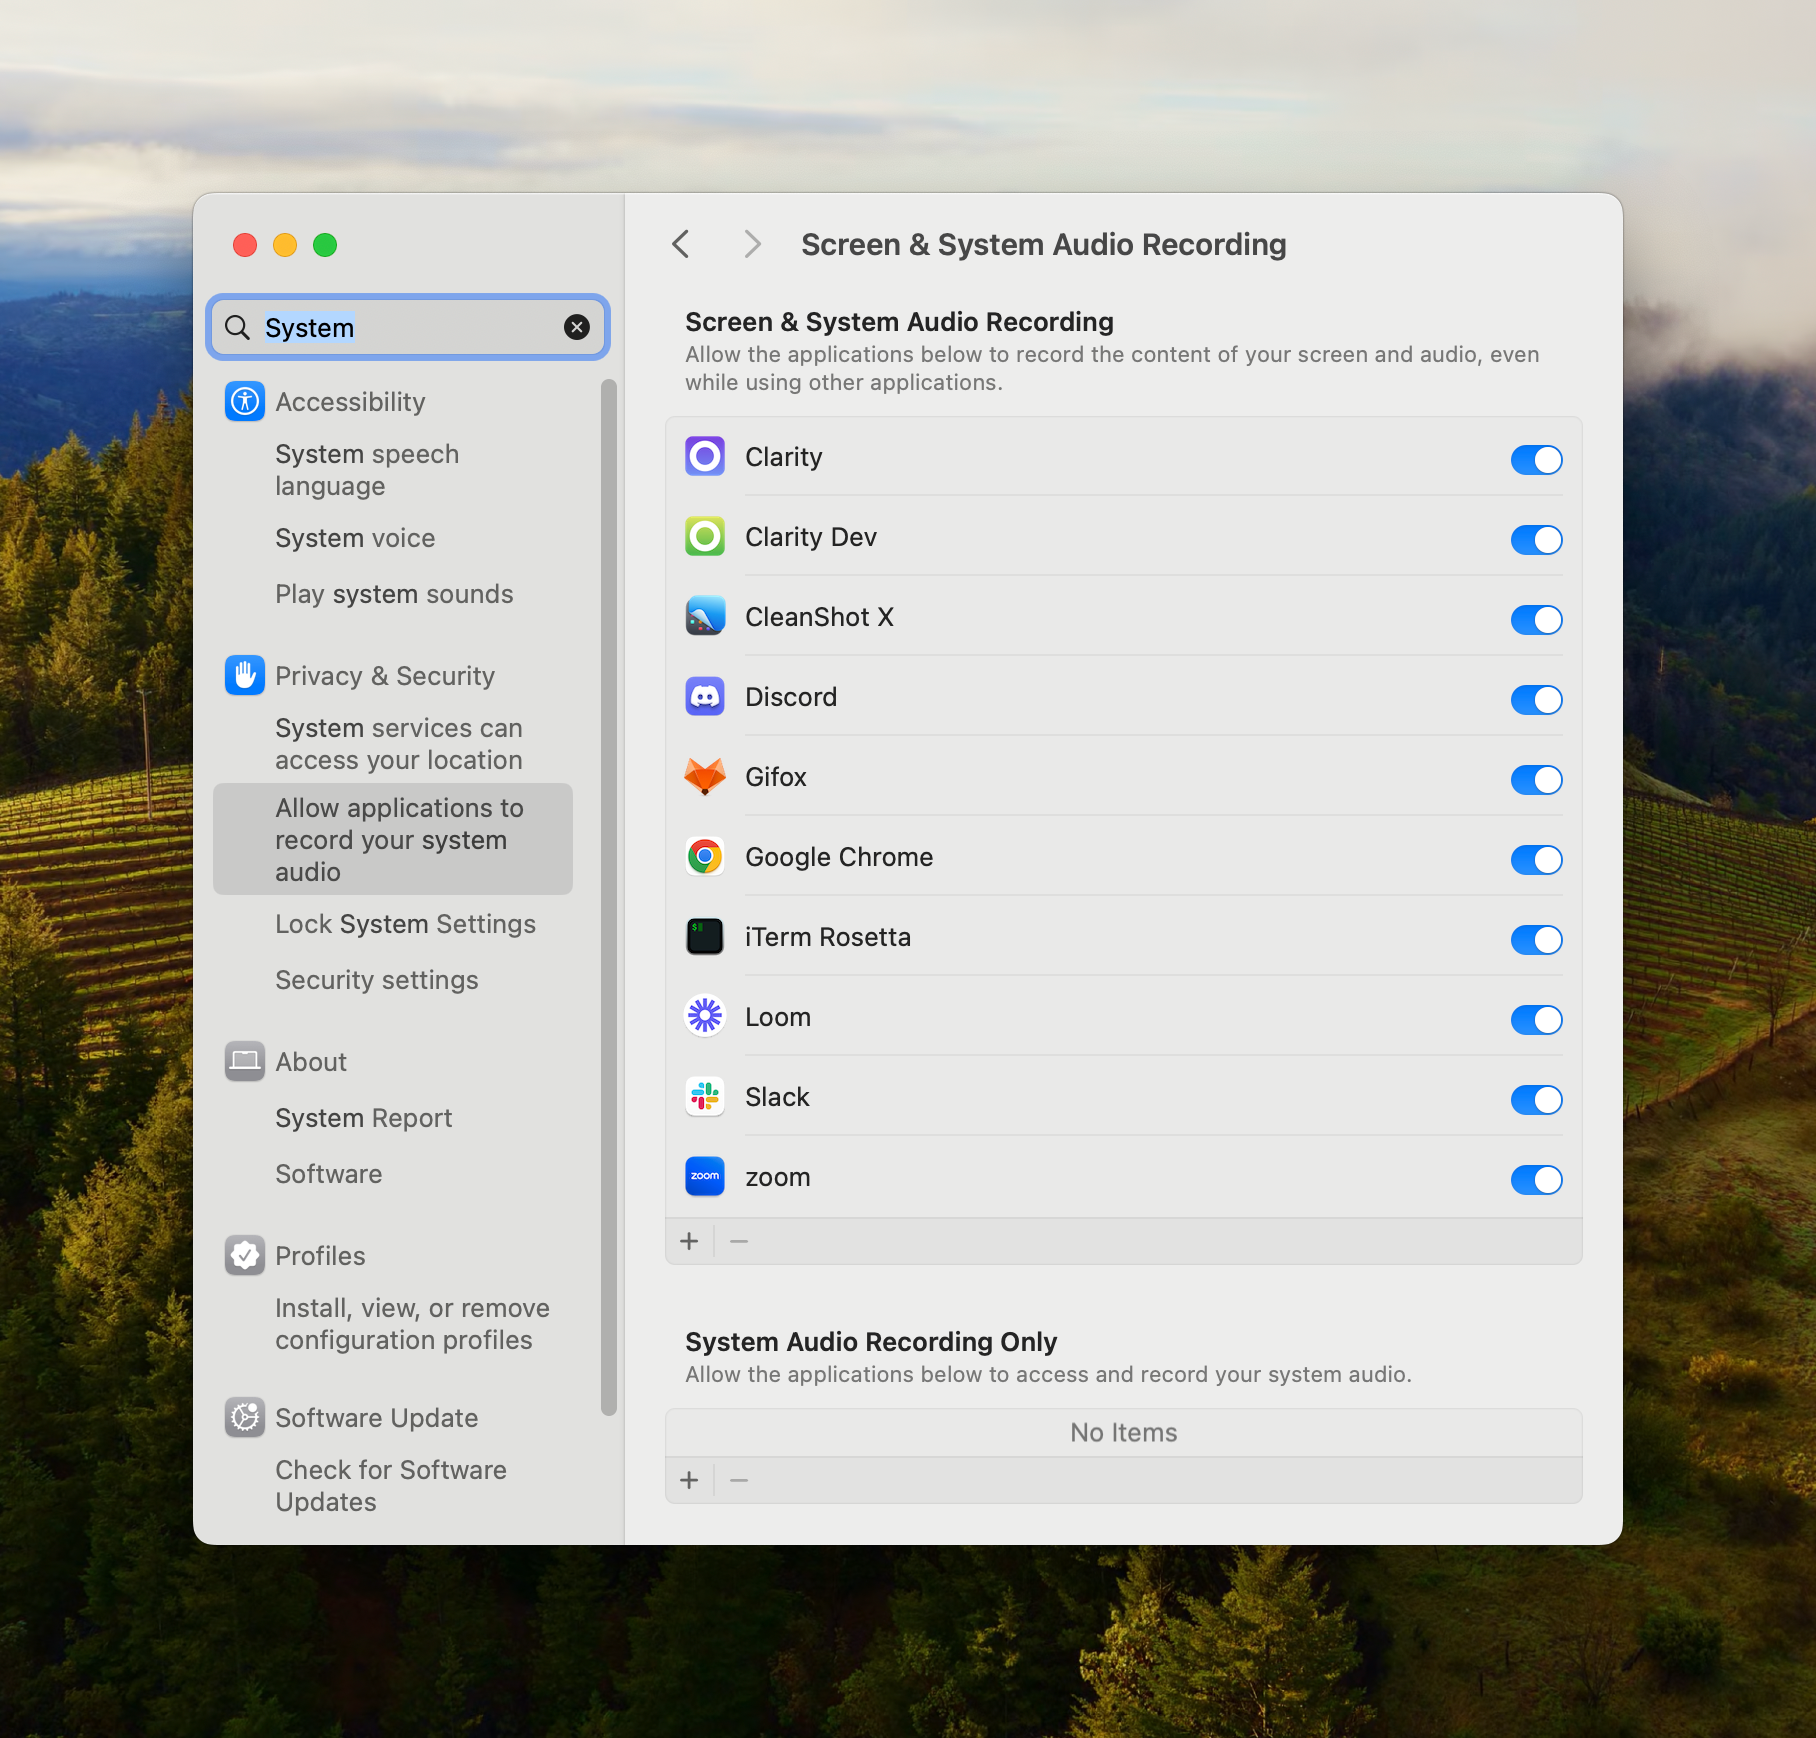
Enable system audio. This should direct you to the Screen & System Audio Recording settings in your Mac System Settings.You can navigate there directly by going to System Settings > Privacy & Security > Screen & System Audio Recording or by searching “System” in System Settings.This will allow Clarity to capture your system audio when on remote meetings.