> ## Documentation Index
> Fetch the complete documentation index at: https://docs.adoptclarity.com/llms.txt
> Use this file to discover all available pages before exploring further.
# 1. Download Mac App
> Use clarity directly on your desktop!
## Install the App
Click here to install Clarity as a desktop app on your Mac.
Double click on the `Clarity Mac Installer.zip` file that is downloaded to your system.
This will result in a new file called `Install Clarity`
Double click the `Install Clarity` file to begin the installation process.
Confirm any warning messages that show up.
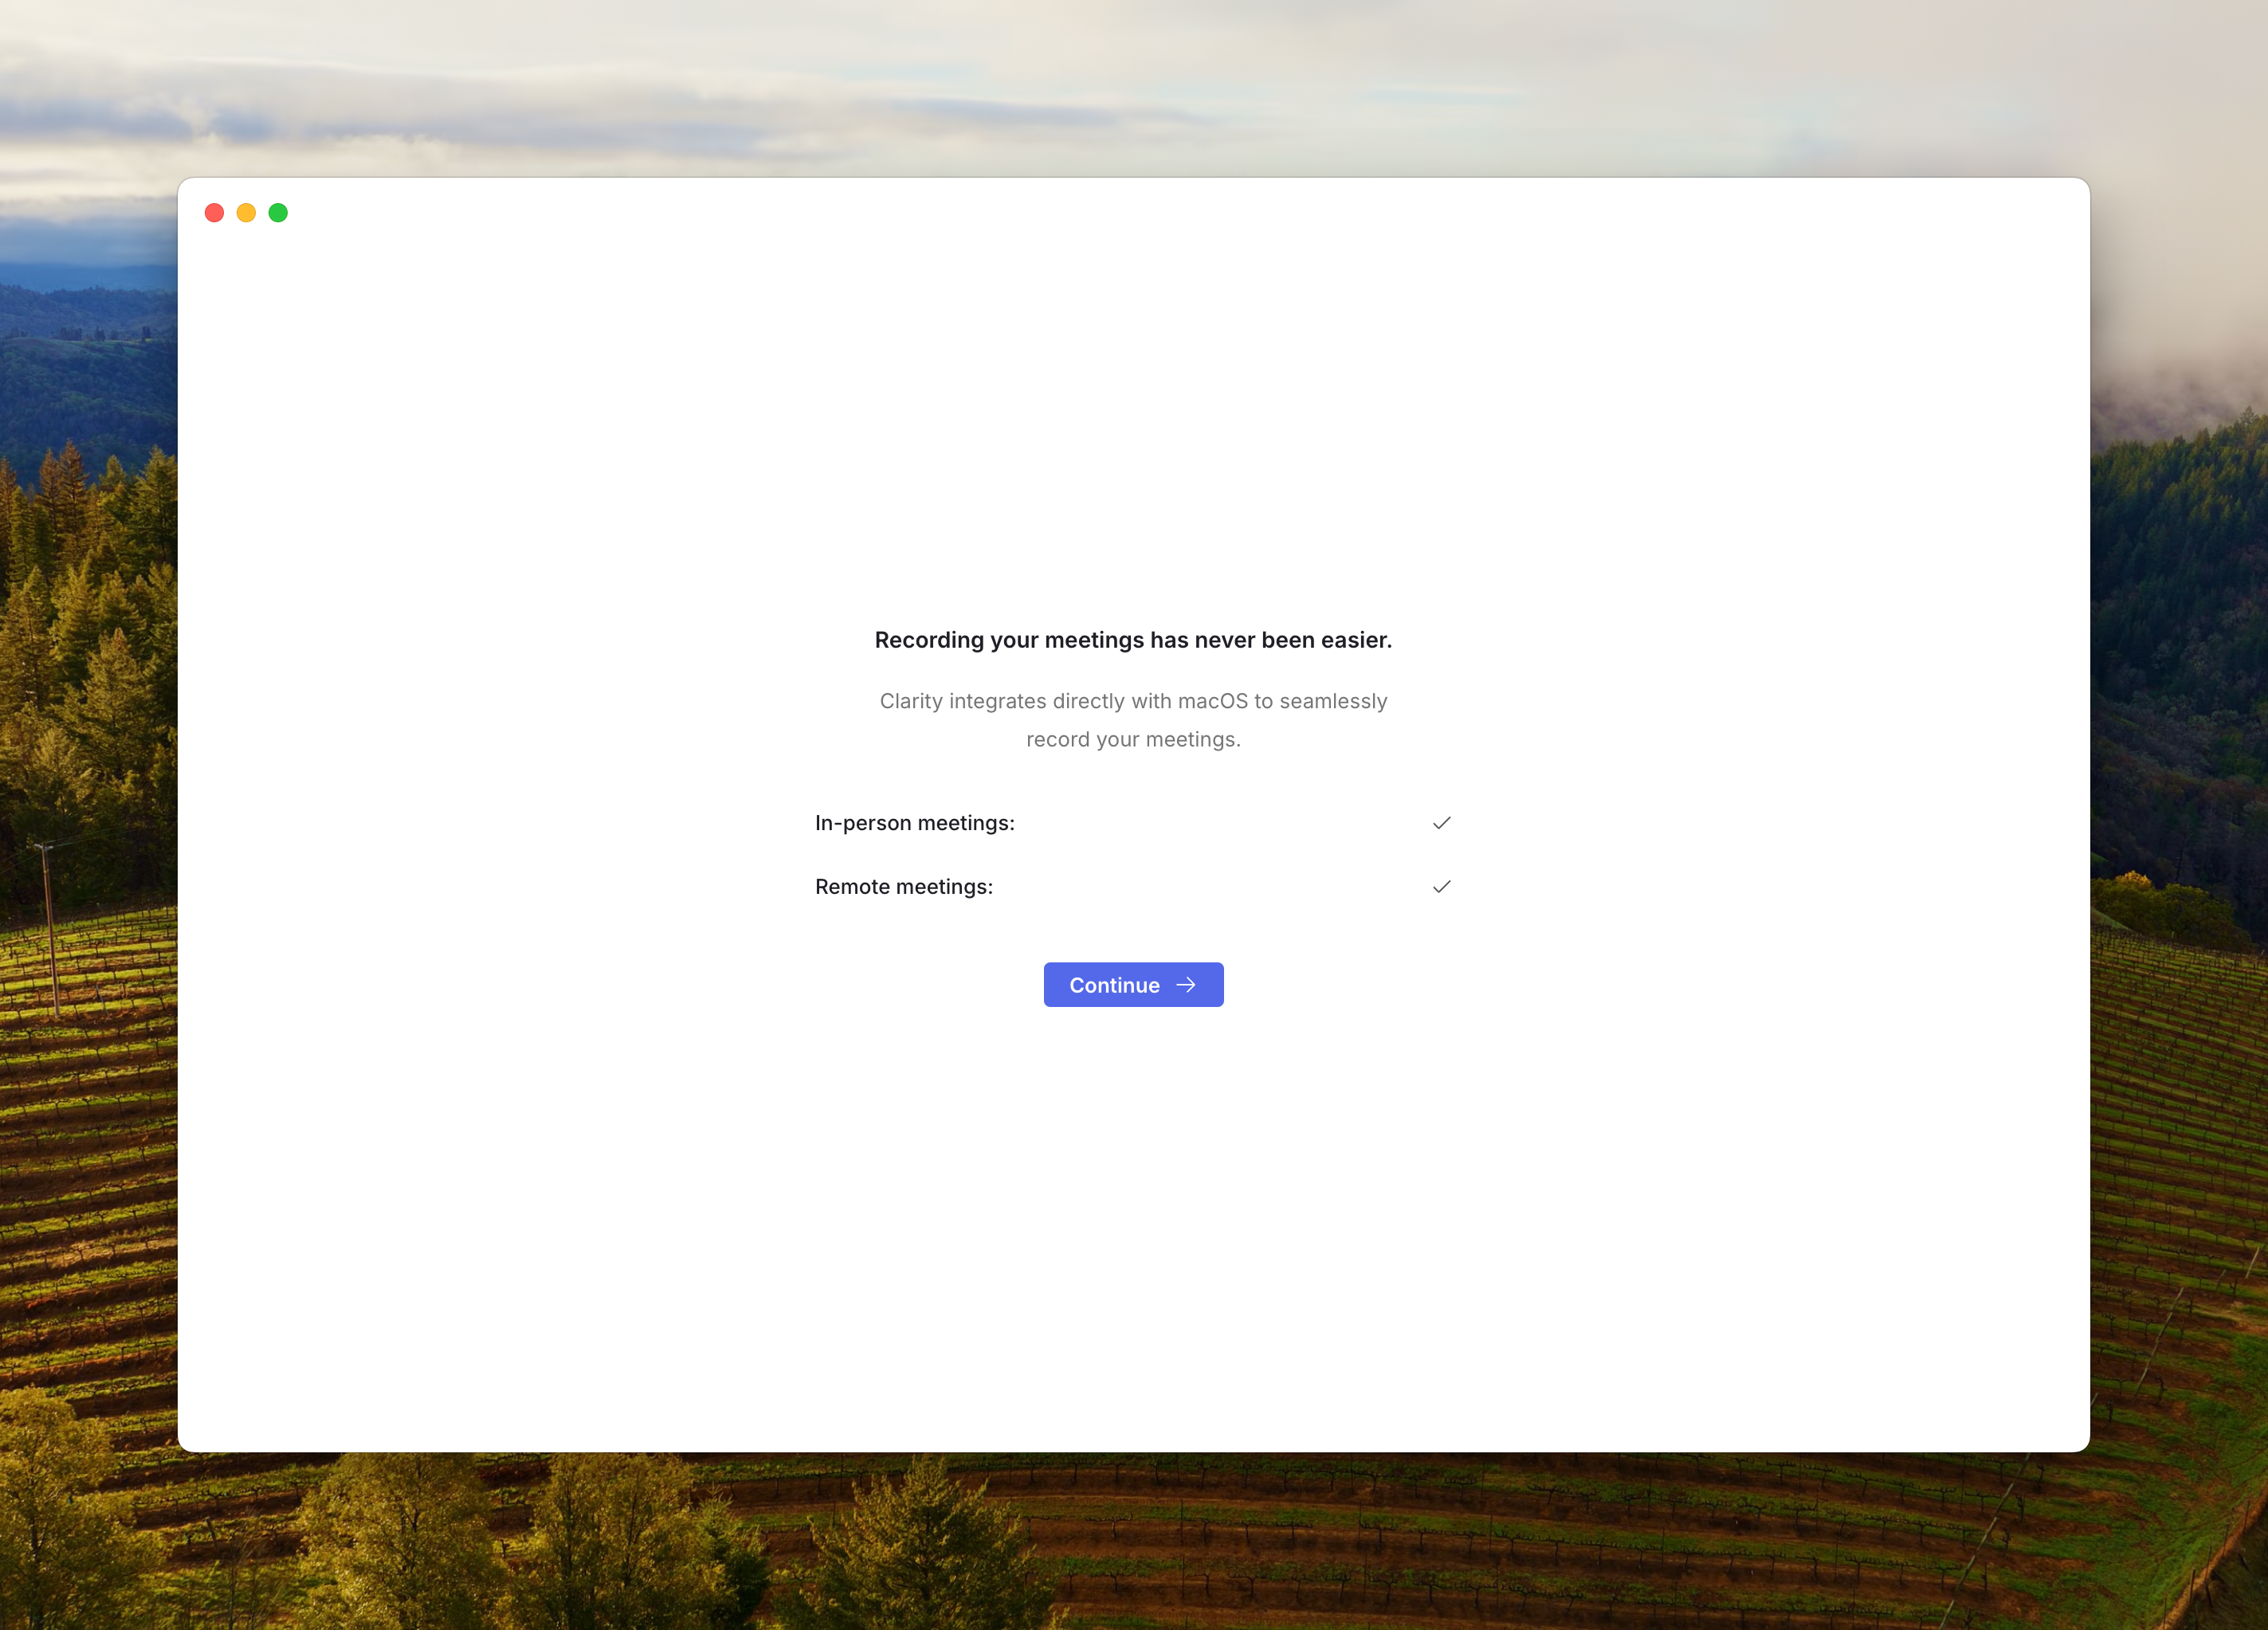
## Setup Audio Permissions
Clarity will request audio and screen recording permissions. This allows us to support desktop recording from the mic and system audio.
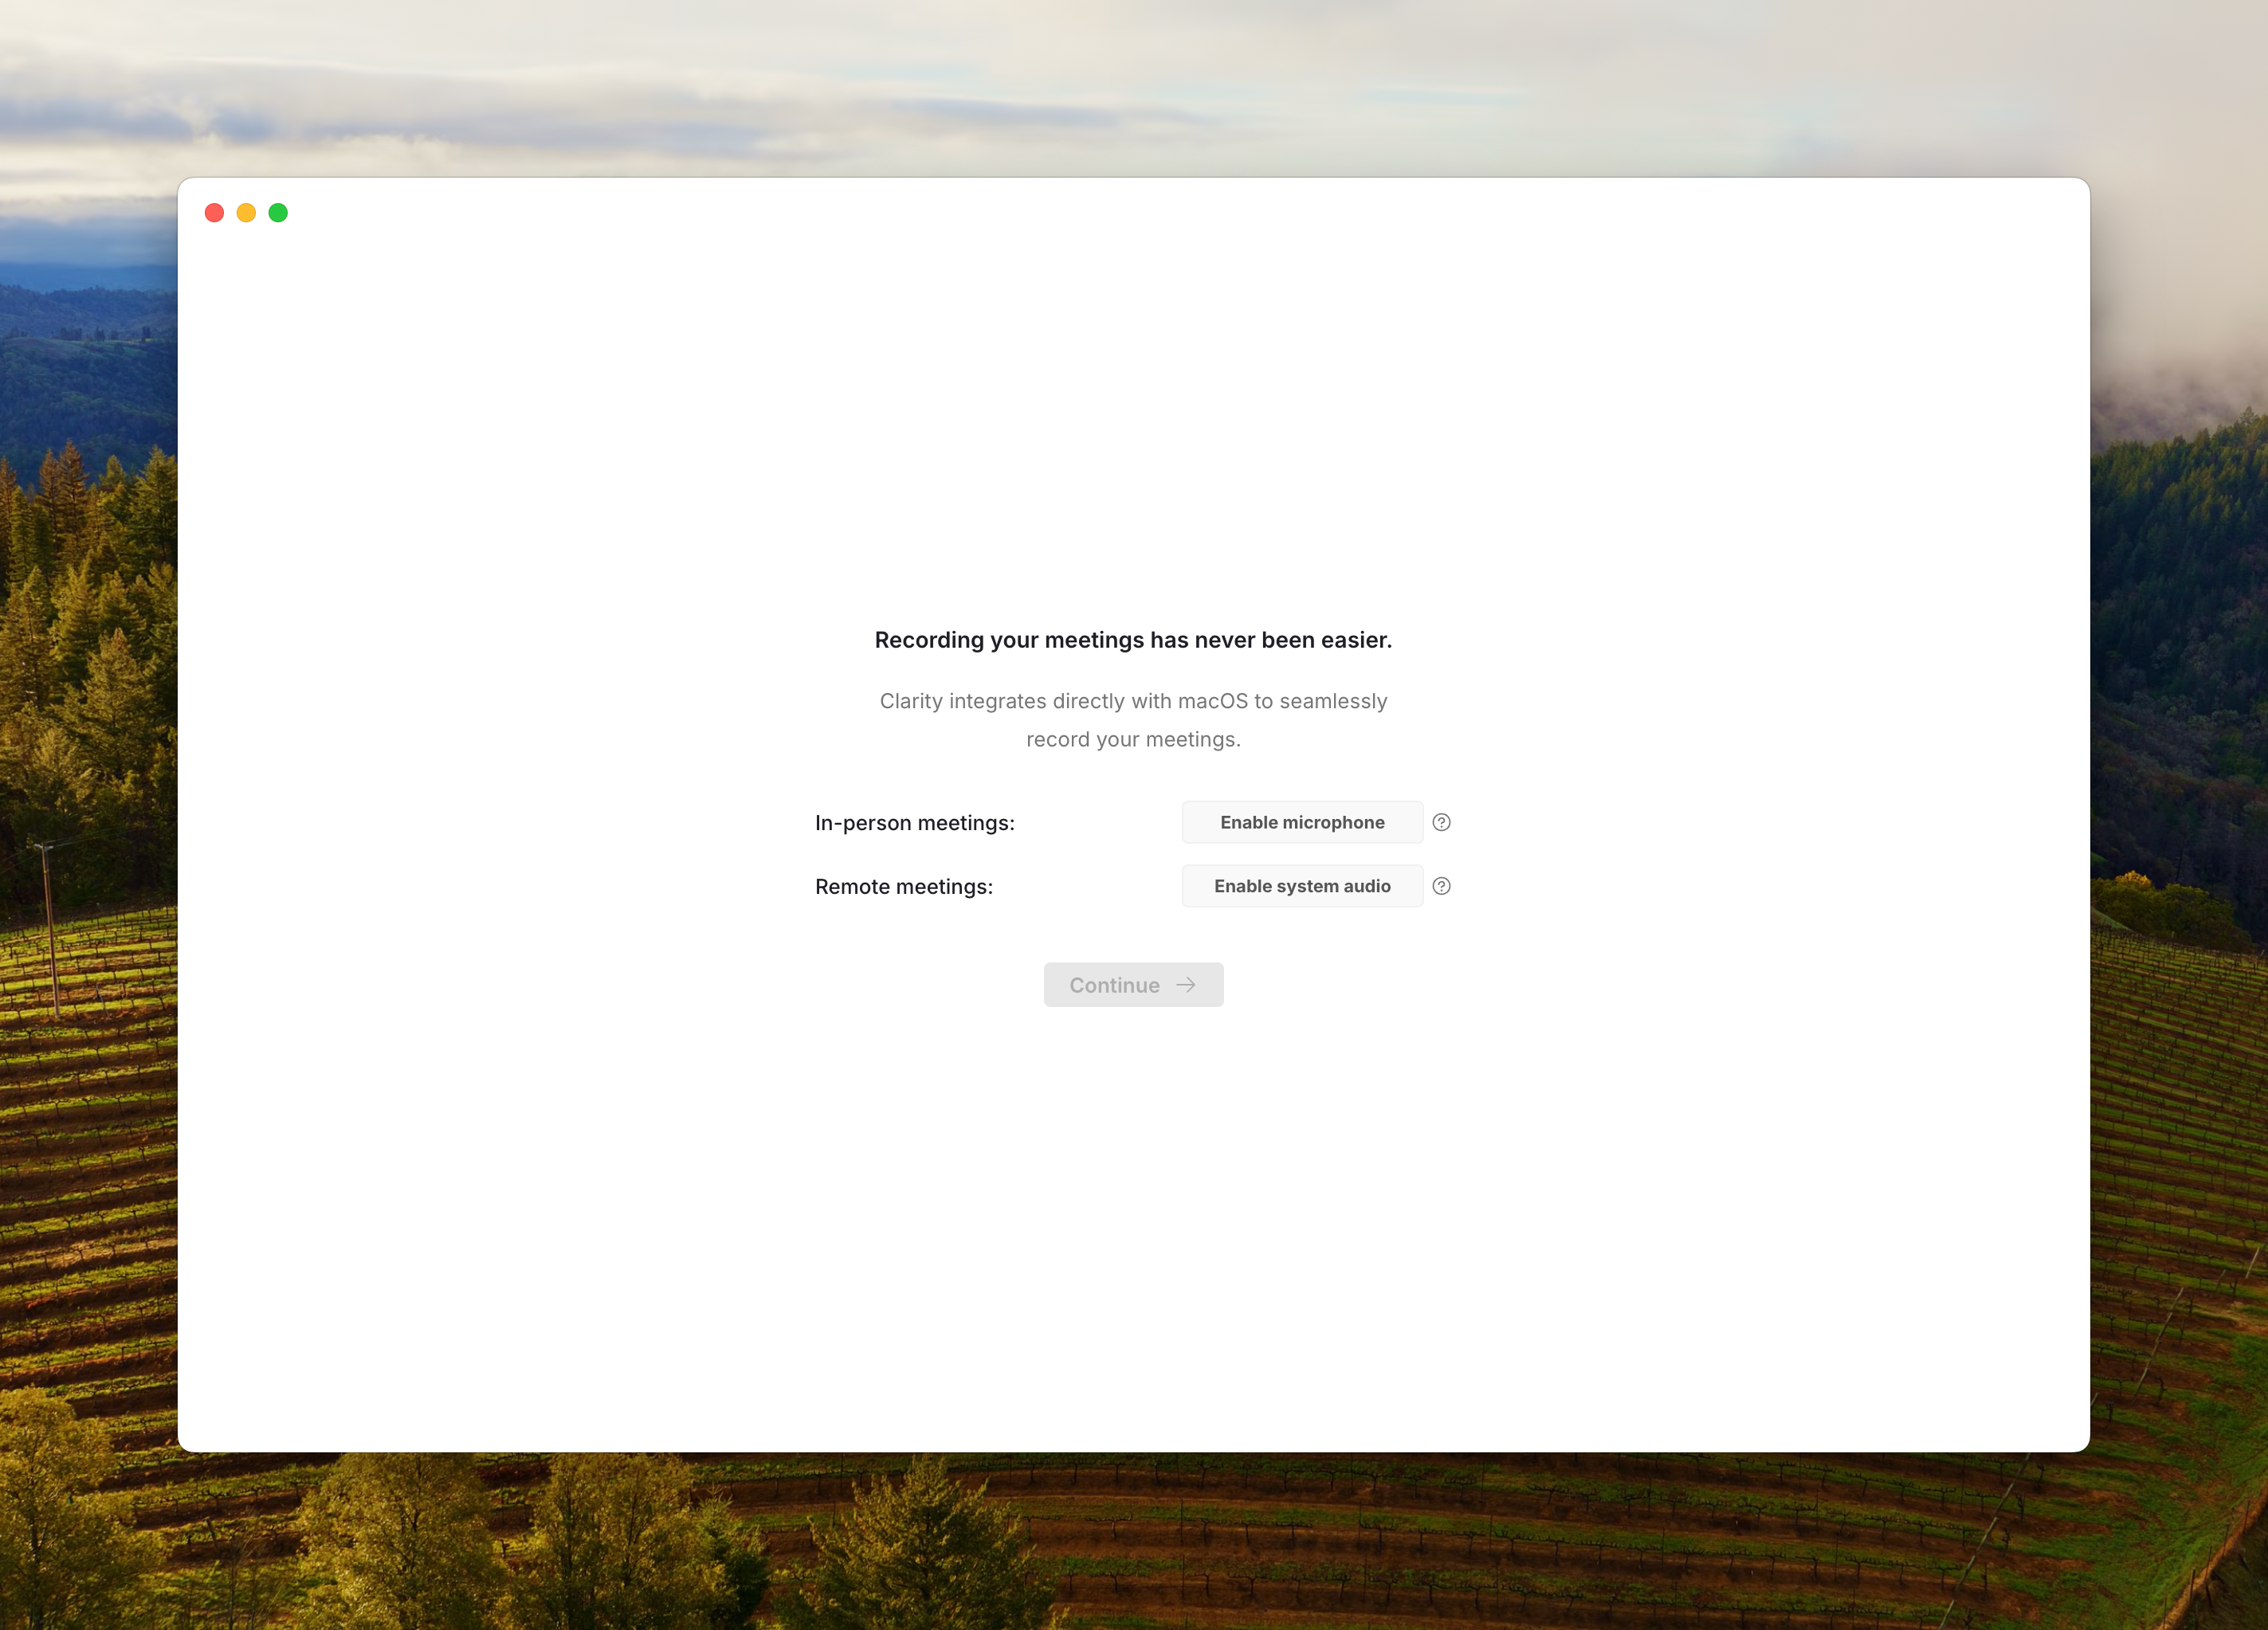 Click `Enable Microphone`. This should direct you to the Microphone settings in your Mac System Settings.
You can navigate there directly by going to `System Settings > Privacy & Security > Microphone` or by searching "Microphone" in System Settings.
This will allow Clarity to capture your mic audio for in-person and remote meetings.
Click `Enable Microphone`. This should direct you to the Microphone settings in your Mac System Settings.
You can navigate there directly by going to `System Settings > Privacy & Security > Microphone` or by searching "Microphone" in System Settings.
This will allow Clarity to capture your mic audio for in-person and remote meetings.
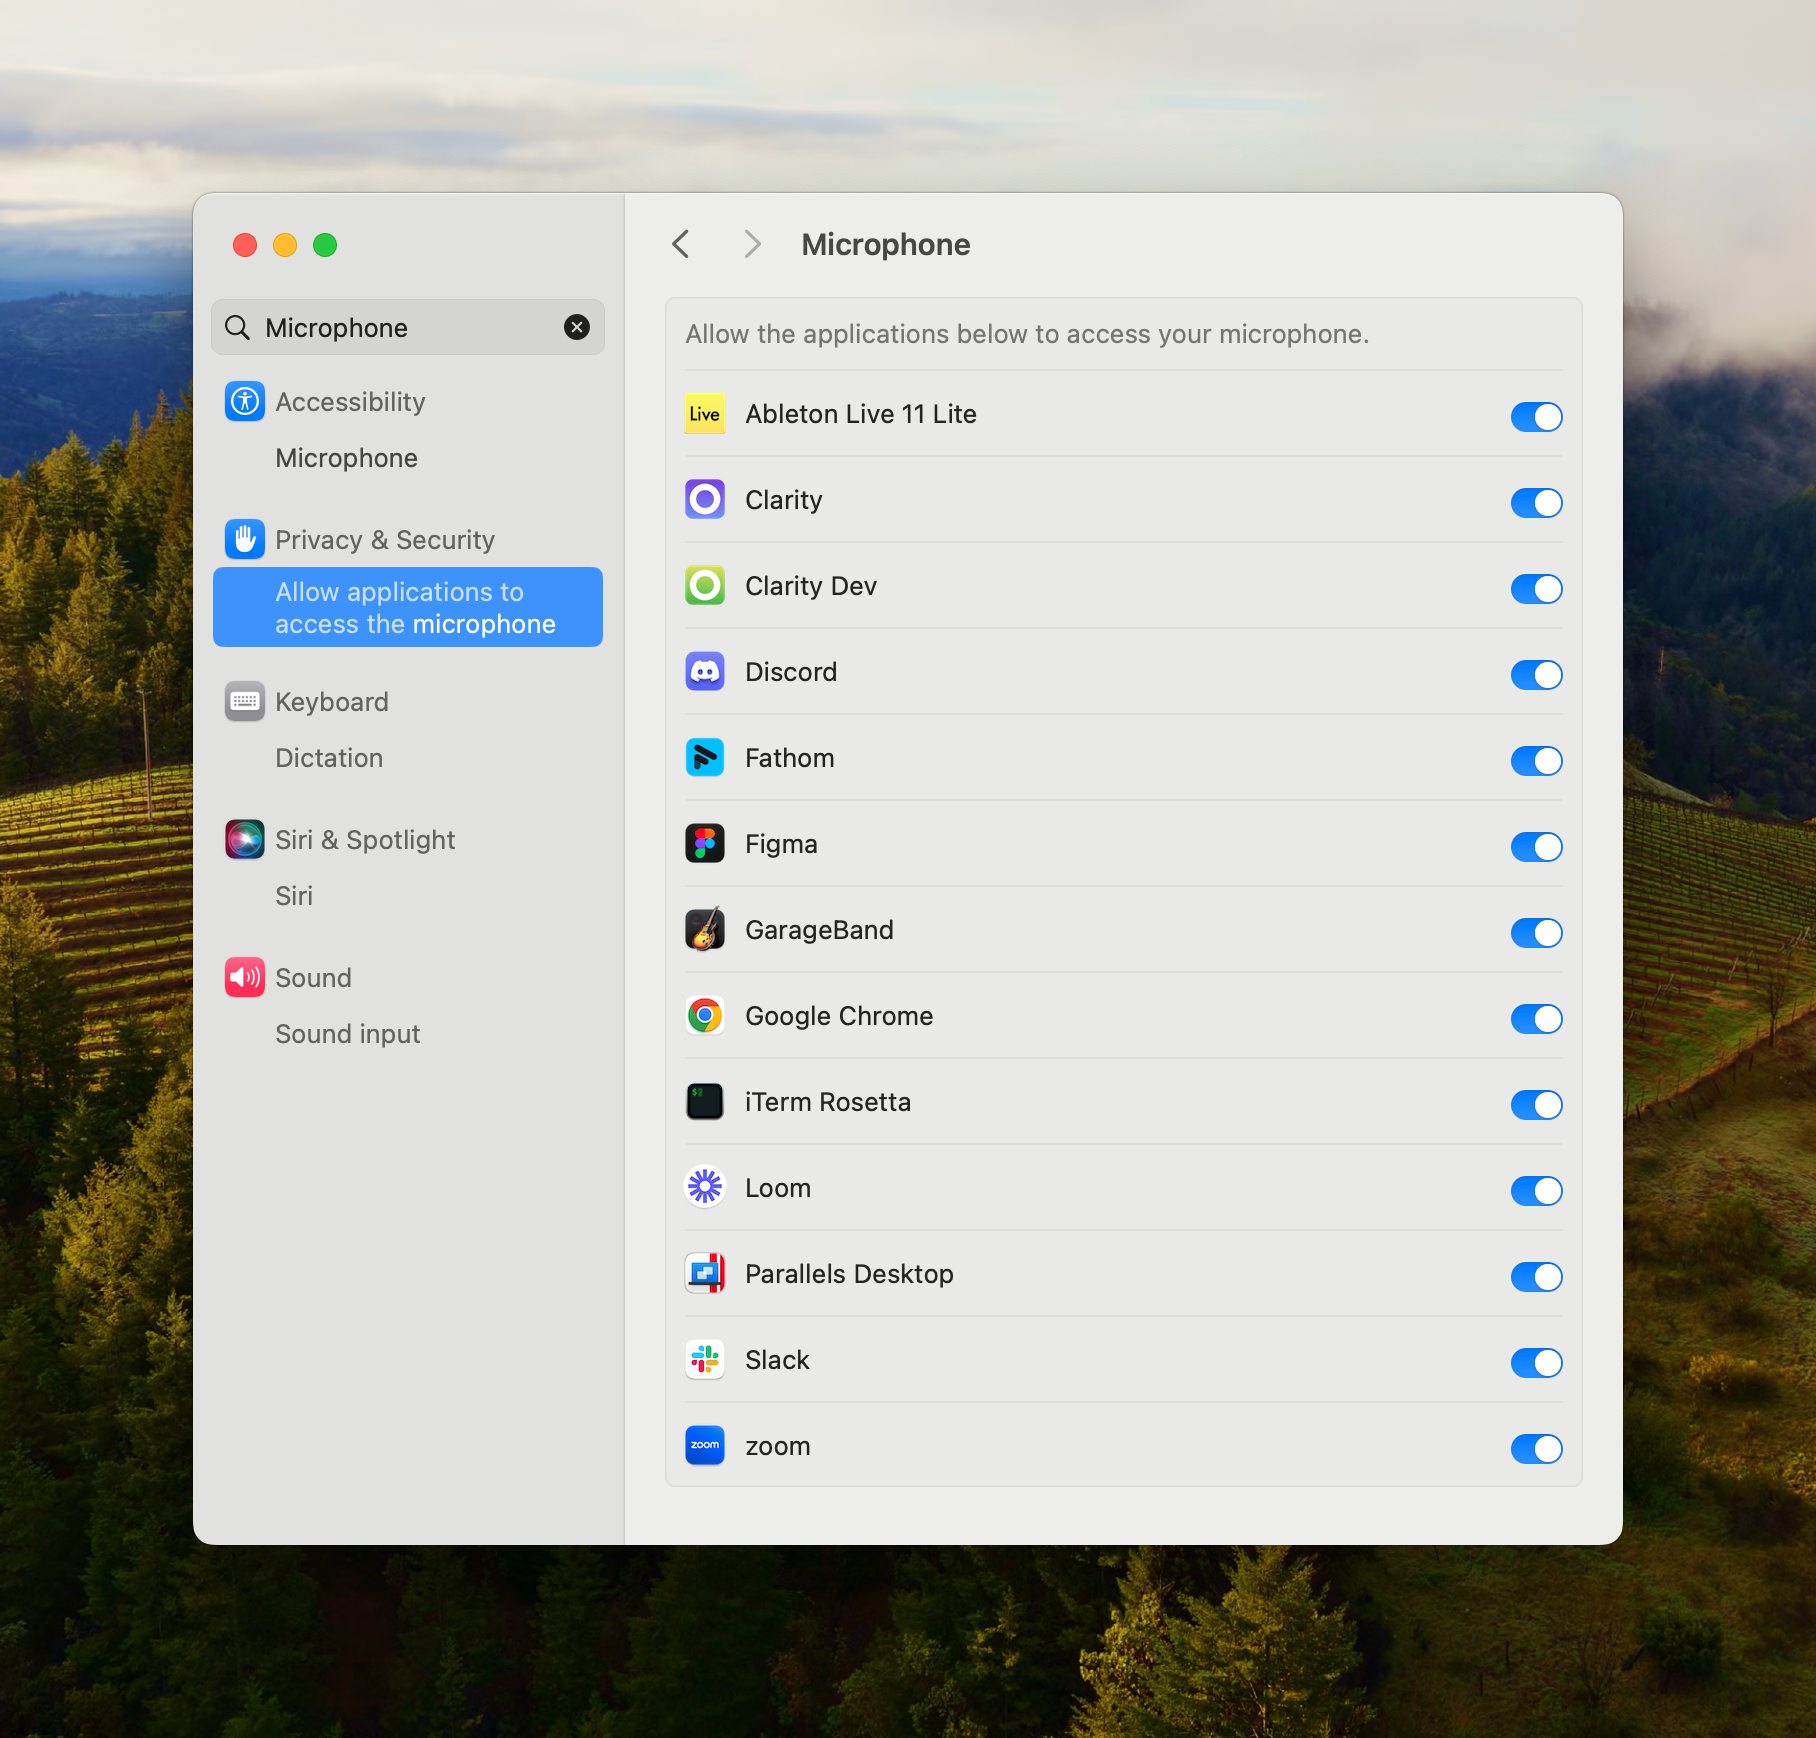 Toggle the permissions on for the Clarity application.
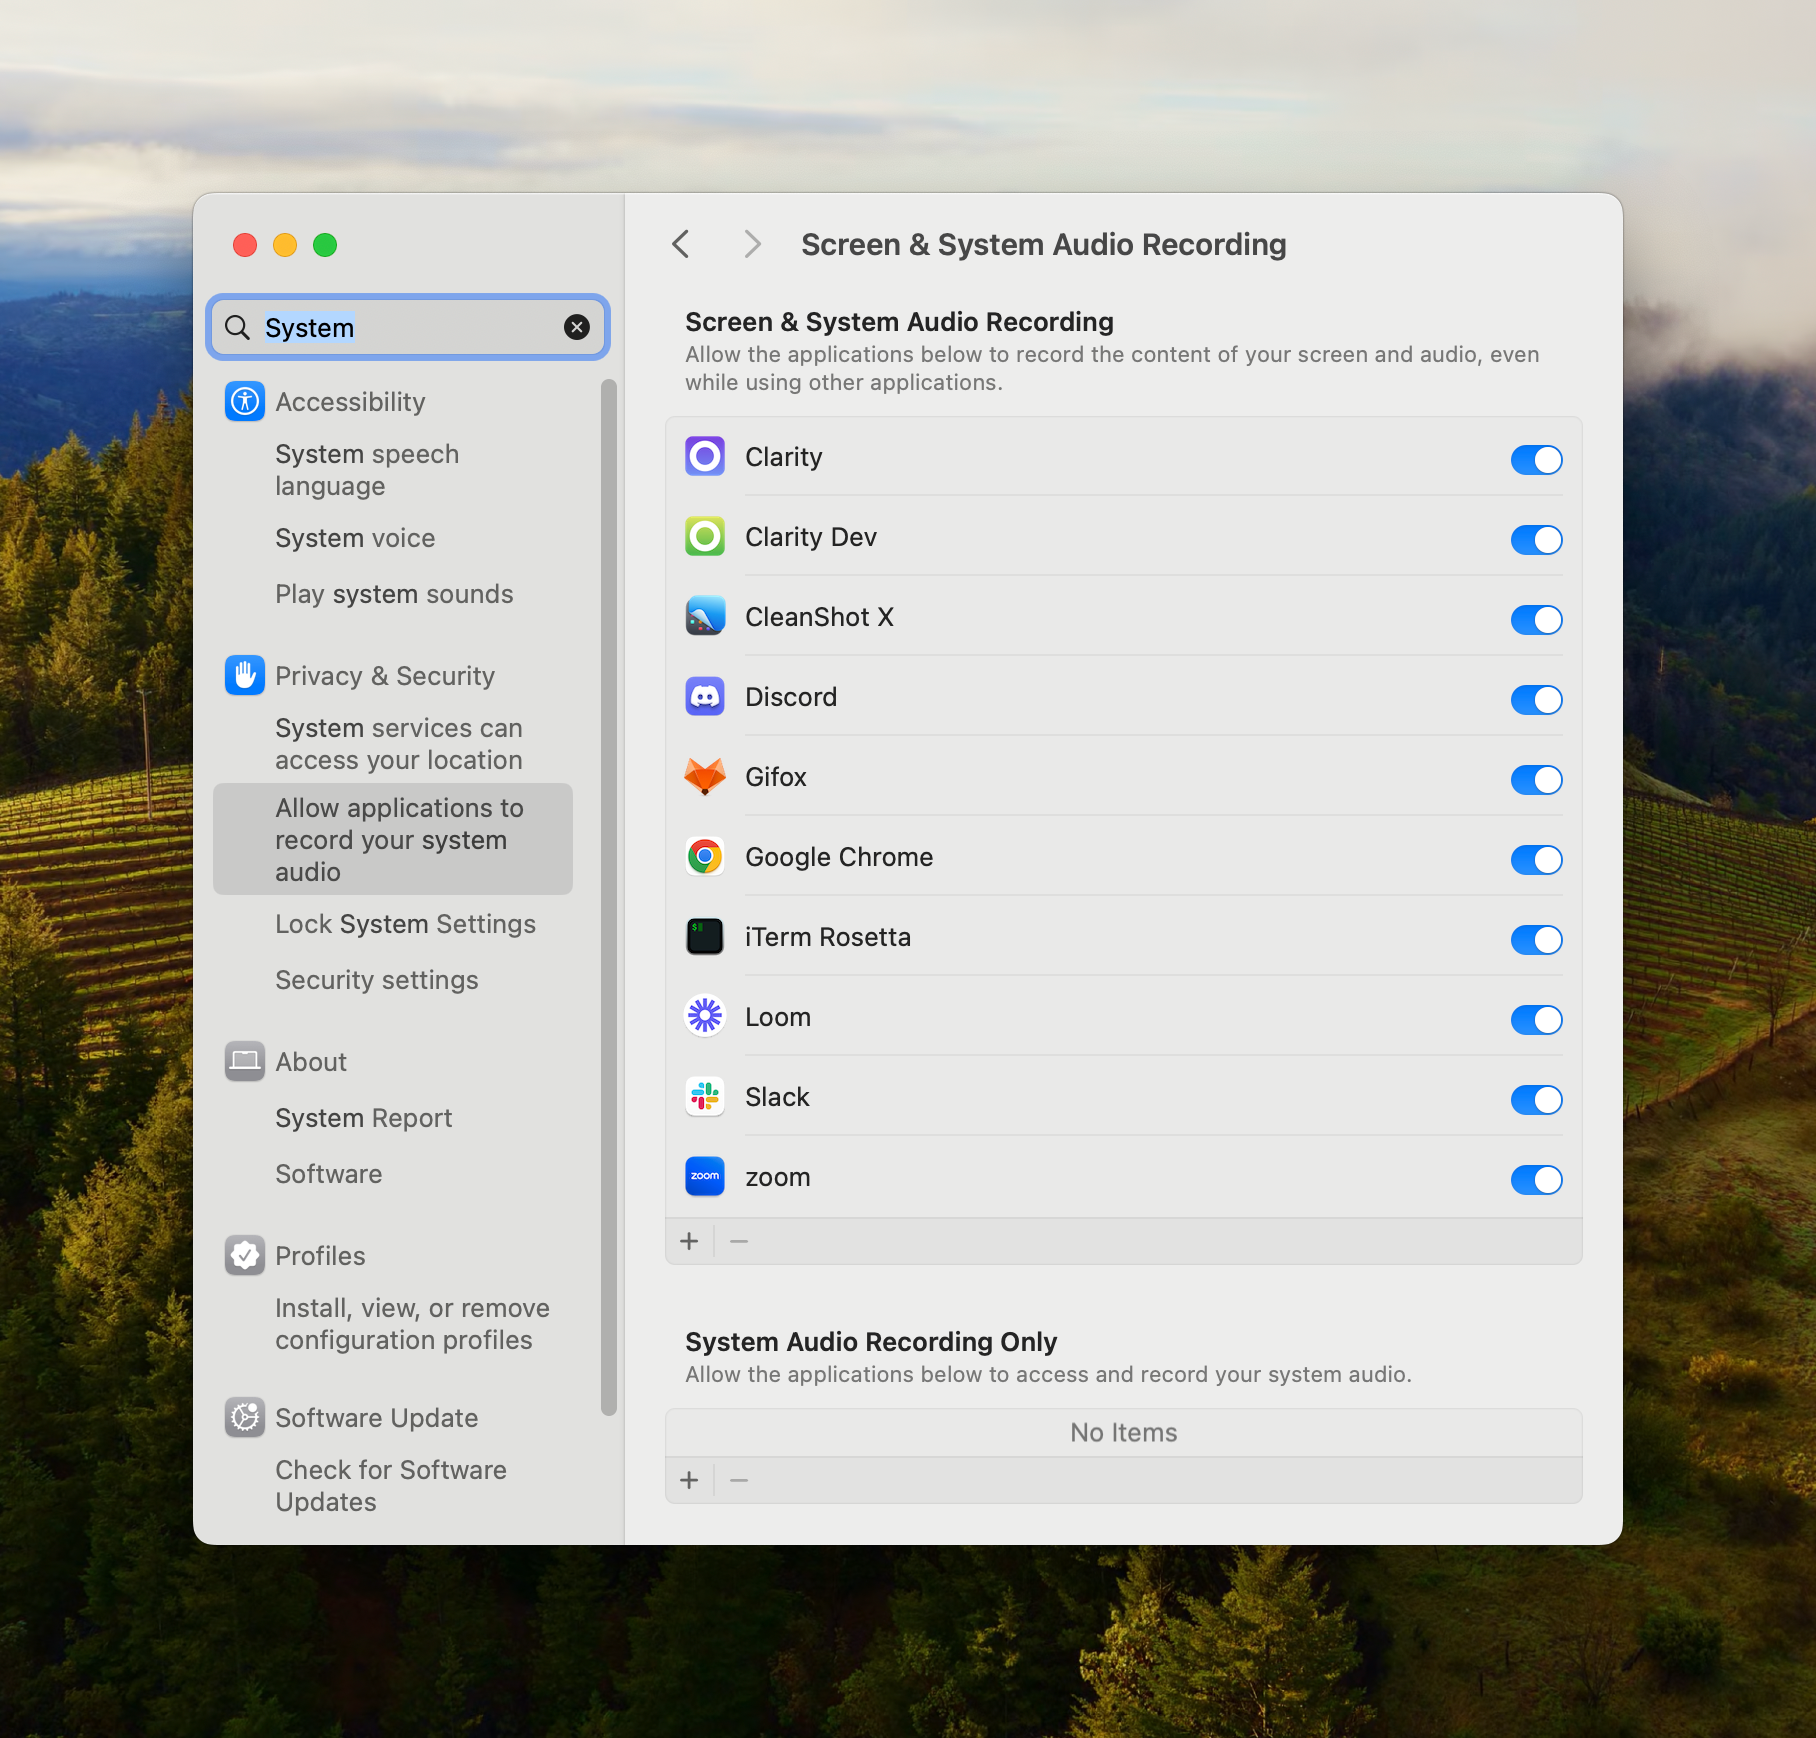
Click `Enable system audio`. This should direct you to the Screen & System Audio Recording settings in your Mac System Settings.
You can navigate there directly by going to `System Settings > Privacy & Security > Screen & System Audio Recording` or by searching "System" in System Settings.
This will allow Clarity to capture your system audio when on remote meetings.
Toggle the permissions on for the Clarity application.
Click `Enable system audio`. This should direct you to the Screen & System Audio Recording settings in your Mac System Settings.
You can navigate there directly by going to `System Settings > Privacy & Security > Screen & System Audio Recording` or by searching "System" in System Settings.
This will allow Clarity to capture your system audio when on remote meetings.
 Toggle the permissions on for the Clarity application.
Once both audio and screen permissions are granted, you can press Continue to enter the application.
Toggle the permissions on for the Clarity application.
Once both audio and screen permissions are granted, you can press Continue to enter the application.